Paragon Tech - Welding Cart
I started learning how to TIG weld and made my own welding cart from scrap!
The Welding Cart
Introduction
Welding is cool. Being able to stick pieces of metal together just sparks (lol) some sort of primal fascination. I've welded a few times in the past, but never had access to my own welder until recently. I had done some small welding projects and started to understand the basics, but never tackled anything larger.
Planning
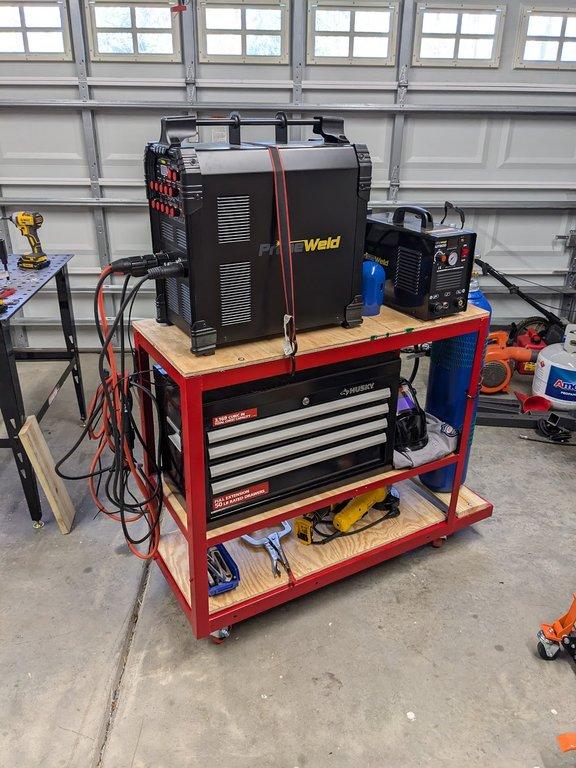
I started by looking at existing carts. They are all pretty similar to what I ended up building, but I didn't see many that incorporated a tool box like I did. Generally, the cart needed to house the following things:
- The welder
- Plasma cutter
- Argon tank
- Tool chest
- Clamps
- Lots of cables and hoses
- Grinders and their cords
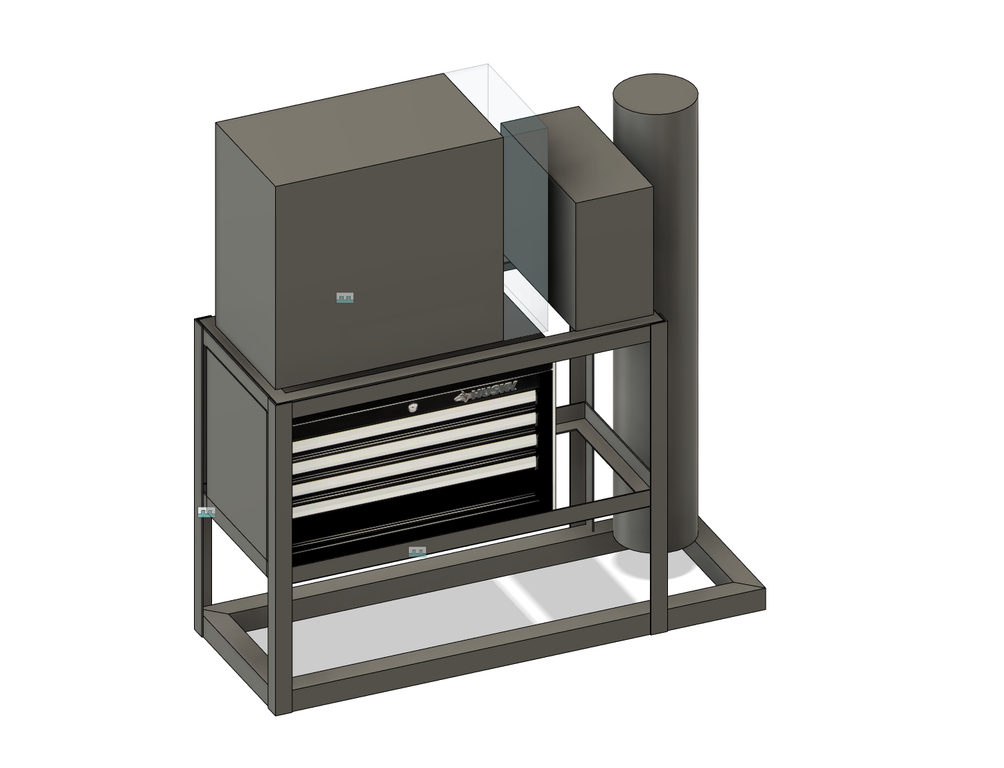
I measured the larger items and put them into Fusion 360 as just cubes for their bounding boxes. I played around with different footprints until I settled on having the tool chest in the middle and the plasma cutter and welder on top of the cart. My next step was to source the raw material.
Raw Material
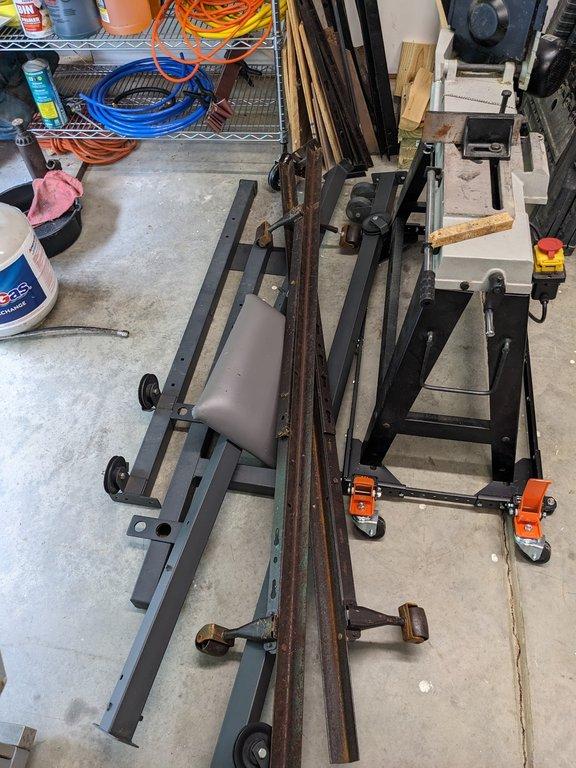
I had one bed frame on hand that I already planned on using. Bed frames are made of 1-2" angle iron. It just needed to be cut to size and have the paint removed. While I was still planning the project, someone in my neighborhood threw out an additional bed frame and some exercise equipment. Having the 2" square tubing from the exercise equipment was great for the cart's base.
Fabrication
I put together my cut list from the Fusion 360 model and went to work. Grinding the paint away from the future welding sites took a lot of time and made a huge mess. It took quite a while to cut the bed frames apart and remove the other features, like wheels and joints. Fortunately I still had enough long pieces to make the whole cart without buying any material.
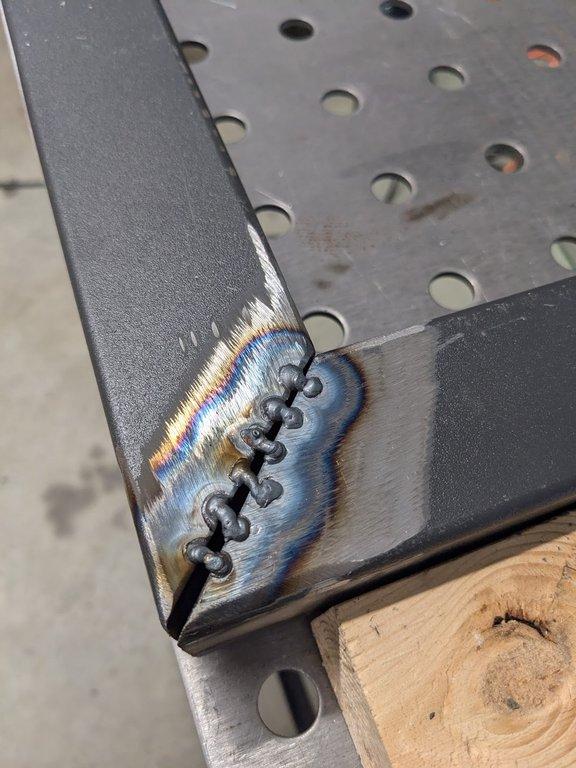
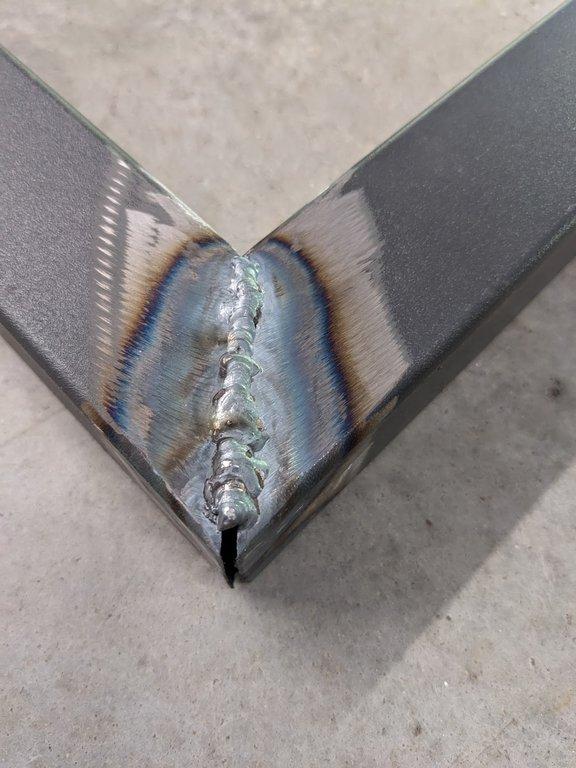
I'm not sure why I decided to use miter joints for the corners of the base. My miter cuts with the bandsaw were not very accurate and this massively complicated the welding. I had to span the gap and then fill it in. In retrospect, it was good practice and will make me appreciate thoroughly testing my miter setup before cutting all of the pieces.
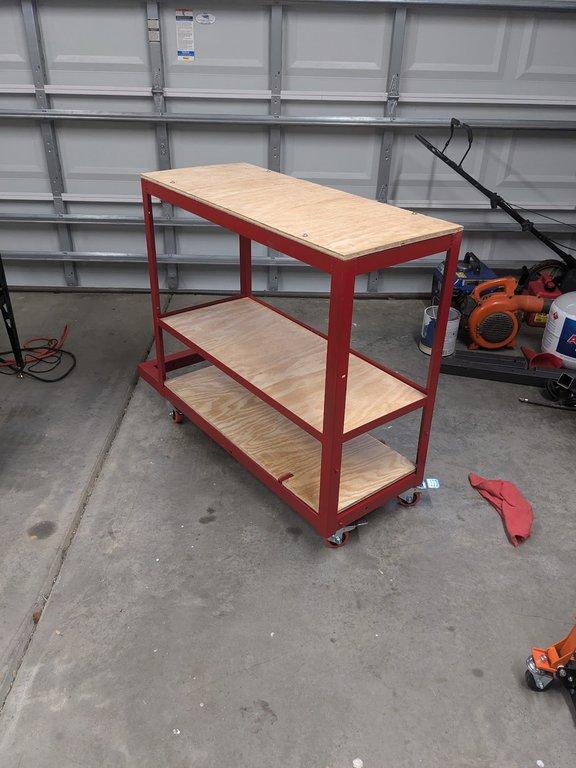
I built the cart as 3 rectangular frames. One for the base, the middle, and the top. Then I attached them together with the vertical members. I fully welded each rectangular frame, then tack welded everything in place. I've never built anything this size, and I'm happy to say that with some clamping, time, and a square, it's not too difficult to get things pretty close to square.

Once the cart was welded, it received a rattle-can coat of cherry red. I 3D printed some hooks for the cables. I need a lot more, and I'd like to print some holders for my grinders. Overall I'm quite happy with the cart and got some great practice building it.
Thanks for checking it out!
No comments yet. Login to start a new discussion Start a new discussion